How to Install Drywall Over Different Surfaces: Wood, Concrete, and More
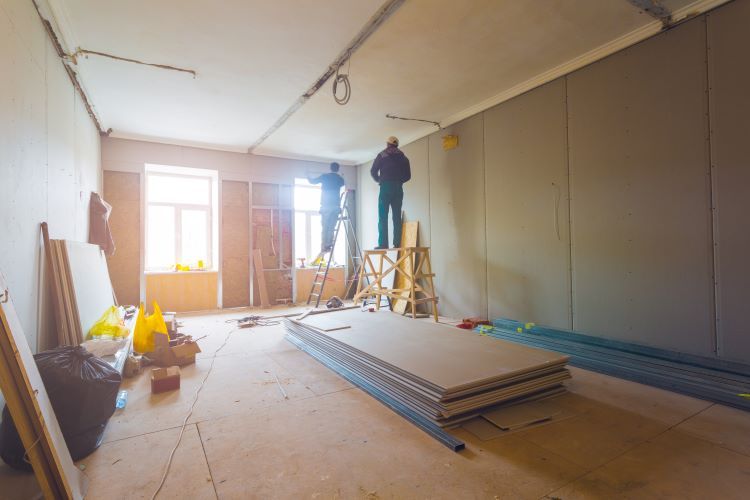
Installing drywall is a crucial step in finishing a space, providing a smooth, durable surface that can be painted, textured, or wallpapered to suit any design. However, when it comes to installing drywall over different surfaces, such as wood, concrete, and others, the process can vary significantly. In this article, Windsor Drywallers, your trusted drywall experts in Windsor, Ontario, will guide you through the best practices for installing drywall over various surfaces.
1. Installing Drywall Over Wood
Wooden surfaces, whether they're studs or existing wooden walls, are among the most common surfaces over which drywall is installed. Here’s how to ensure a successful installation:
Preparation
- Inspect the Wood Surface: Before you begin, ensure that the wood surface is in good condition. Check for any loose or damaged boards, and secure them with nails or screws. Remove any protruding nails or screws that could interfere with the drywall.
- Mark the Studs: If you're installing drywall over wooden studs, mark the location of the studs on the floor and ceiling with a pencil. This will help you know where to attach the drywall.
Installation Process
- Cut the Drywall Panels: Measure the area where you’ll be installing the drywall and cut the panels to size using a utility knife. Be sure to cut the drywall panels slightly smaller than the actual measurements to allow for easy fitting.
- Attach the Drywall: Starting at the top of the wall, attach the drywall panels to the wooden studs using drywall screws. Space the screws about 16 inches apart, ensuring they are driven slightly below the surface of the drywall without breaking the paper layer.
- Finishing: Once all panels are installed, tape the seams and apply joint compound (mud) to create a smooth surface. After the compound dries, sand it down to achieve a seamless finish before painting or applying any other surface treatment.
2. Installing Drywall Over Concrete
Concrete surfaces, such as basement walls or poured concrete, present a different set of challenges for drywall installation. Here’s how to approach this task:
Preparation
- Check for Moisture: Concrete walls can retain moisture, which can cause drywall to deteriorate over time. Use a moisture meter to check for dampness. If moisture is detected, consider applying a waterproofing sealant to the concrete before proceeding.
- Install Furring Strips: Directly attaching drywall to concrete is not recommended. Instead, install furring strips, which are narrow wooden or metal strips that provide a stable base for the drywall. Space the strips 16 to 24 inches apart vertically and attach them to the concrete using masonry screws or nails.
Installation Process
- Cut and Position the Drywall: Cut the drywall panels to fit the space, ensuring that they align with the furring strips. Leave a small gap between the drywall and the floor to prevent moisture from wicking up into the drywall.
- Secure the Drywall: Attach the drywall panels to the furring strips using drywall screws. Be sure the screws penetrate the strips securely, but avoid over-tightening, which can damage the drywall.
- Finish the Surface: After securing the drywall, tape the seams and apply joint compound as you would with a wooden surface. Sand the joints smooth after the compound dries, then prime and paint the drywall.
3. Installing Drywall Over Brick
Installing drywall over brick is a common way to modernize an older home or create a smooth surface for finishing. Here’s how to do it:
Preparation
- Inspect the Brick: Ensure that the brick surface is in good condition, with no loose or crumbling mortar. If necessary, repair any damaged areas before proceeding.
- Apply Adhesive or Furring Strips: For a secure attachment, you can either apply construction adhesive directly to the brick or install furring strips, as with concrete surfaces. Furring strips are generally recommended for better stability.
Installation Process
- Attach the Drywall: If using adhesive, apply it in vertical lines on the back of the drywall panels, then press the panels firmly against the brick. If using furring strips, follow the same process as with concrete, securing the drywall to the strips with screws.
- Finish: Tape, mud, and sand the seams to create a smooth finish. Once dry, the drywall can be primed and painted to match your desired aesthetic.
4. Installing Drywall Over Metal Studs
Metal studs are commonly used in commercial construction and some residential applications. Installing drywall over metal requires a slightly different approach compared to wood.
Preparation
- Align the Metal Studs: Ensure that the metal studs are properly aligned and securely fastened to the floor and ceiling tracks. Check for any sharp edges that might damage the drywall.
Installation Process
- Use Fine-Thread Screws: Unlike wood, metal requires fine-thread drywall screws to secure the panels. These screws are designed to penetrate metal without stripping.
- Secure the Drywall: Attach the drywall panels to the metal studs, spacing the screws 12 to 16 inches apart. Be careful not to overdrive the screws, as this can weaken the connection and damage the drywall.
- Finishing: Finish the drywall by applying joint tape and compound to the seams, then sand and paint as usual.
Conclusion
Installing drywall over different surfaces requires careful preparation and the right techniques to ensure a long-lasting and professional finish. Whether you’re working with wood, concrete, brick, or metal, the experts at Windsor Drywallers have the experience and knowledge to handle any drywall installation project.
By following the steps outlined in this guide, you can achieve a flawless drywall installation that will stand the test of time, no matter what surface lies beneath.
You might also like


